Last Updated on March 17, 2025 by Val Razo
In today’s fast-paced world of Instagram Reels and social media content, having high-quality visuals is essential. However, capturing well-lit images in low-light conditions can be challenging. This is where Instagram’s Smart Lighting Enhancer comes in—a powerful tool designed to enhance your Instagram photos and videos with one click. Whether you’re a content creator or just someone who wants to brighten your images, this ai-powered feature helps automatically adjust the brightness level while maintaining sharpness and clarity.
In this guide, we’ll explore the best ways to use this photo enhancement tool, how to fine-tune your adjustments for professional-level results, and how to avoid common mistakes that could degrade image quality. By the end, you’ll know exactly how to make your video content and Instagram photos look their highest quality, even in low light settings.
What Is Instagram Smart Lighting Enhancer?
How Instagram’s AI Improves Brightness in Low-Light Photos
The Instagram Smart Lighting Enhancer is an ai-powered feature designed to automatically adjust the brightness level in low-light conditions. Instead of struggling with photo editing apps like Lightroom or Snapseed, this built-in tool allows users to lighten their Instagram photos with one click. By analyzing the amount of light that hits the camera sensor, the enhancer applies subtle but effective enhancement to ensure that your content remains sharp and high-resolution.
For users who often find their pictures underexposed, this powerful tool helps to adjust brightness without making the image look too artificial. Whether you’re taking Instagram Reels indoors or capturing nighttime cityscapes, this tool can brighten your images while preserving natural light and avoiding harsh shadows.
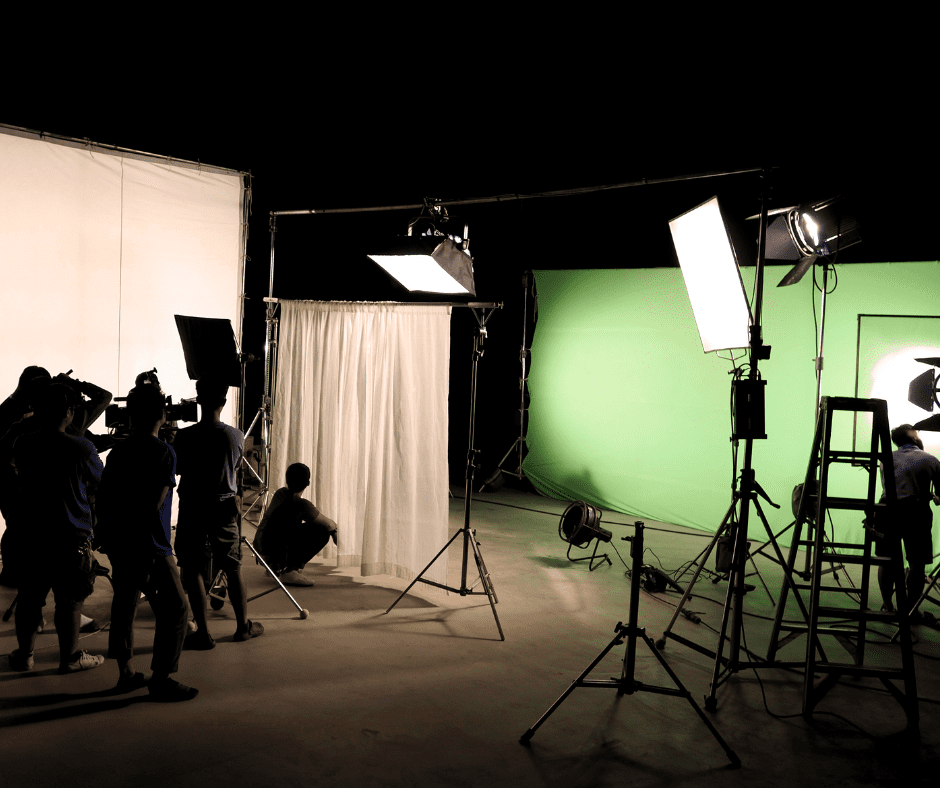
Why Good Lighting Matters for High-Quality Reels
A well-lit video or photo makes a significant difference in photo enhancement. Good lighting ensures that details remain crisp, colors stay vibrant, and the final output looks professional-grade. When a photo or video is taken in low light, the camera often increases the ISO, leading to grainy and blurry results. By using the Instagram Smart Lighting Enhancer, you can compensate for these issues and make your video content appear more high-quality.
To get the best results, combine this feature with editing tools such as HDR, contrast adjustments, and vibrancy tweaks. This ensures that your content doesn’t just look brighter but also maintains even lighting and a balanced look. Whether you’re a content creator or a casual user, mastering photo editing techniques like this can help your content truly stand out.
A 2023 survey by Hootsuite found that 80% of users are more likely to engage with brands that post high-quality, well-lit images. This highlights how tools like Instagram’s Smart Lighting Enhancer can play a crucial role in boosting engagement and sales.
Best Ways to Enhance Your Instagram Reels with Smart Lighting
Adjusting Brightness to Ensure High-Quality Content
One of the best ways to improve your Instagram Reels is by carefully adjusting the brightness level using the Smart Lighting Enhancer. While the tool can automatically adjust lighting, you can also fine-tune it manually with the slider to achieve the perfect balance. The key is to adjust brightness without overexposing your shot, which can result in a washed-out look.
To ensure your content remains high-quality, always preview your changes before posting. The preview option lets you compare the enhanced image with the original, helping you decide if more manual adjustments are needed. Additionally, using editing features like saturation and contrast can further refine the look without compromising clarity.
I love capturing Reels when I travel, but I often find myself in low-light situations—whether it’s a dimly lit café in Paris or a sunset beach scene in Bali. Before I discovered the Smart Lighting Enhancer, I struggled to make my photos look as vibrant as they did in real life. Now, I simply toggle the tool, and with one click, my images become brighter while still looking natural. This has helped me keep my feed looking cohesive and high-quality, even when lighting conditions aren’t ideal.
How to Lighten Dark Areas Without Losing Detail
When working with low-light footage, it’s important to lighten dark areas while maintaining detail. The Instagram Smart Lighting Enhancer does this by applying targeted brightness adjustments, preventing unnecessary overexposure. However, if an image or video is too dark, consider combining this tool with LED panels or ring lights during recording to achieve even lighting.
For content creators aiming for professional-level quality, layering multiple editing techniques can be beneficial. Try using tools like Lightroom or Snapseed for additional photo enhancement, or apply an HDR filter to bring out details in both shadows and highlights. With the right approach, you can make your Instagram photos and videos appear naturally well-lit, ensuring a polished and engaging final result.
A 2023 case study by Social Media Examiner followed a fashion influencer, Emma Reynolds, who struggled with low-light conditions while filming her Instagram Reels. Before using the Smart Lighting Enhancer, Emma’s posts had an average engagement rate of 3.2%. After consistently brightening her content with the tool, her engagement rate jumped to 4.8%, a 50% increase.
She also noted that her content started appearing more frequently on the Explore page, likely because well-lit, high-quality visuals tend to perform better in Instagram’s algorithm. By combining natural light, LED panels, and the Smart Lighting Enhancer, Emma was able to create a professional-level aesthetic that attracted new followers and brand collaborations.
Source: Social Media Examiner – Instagram Engagement Strategies 2023
How to Use Smart Lighting Enhancer for Better Results
Step-by-Step Guide to Master the Tool
Using the Instagram Smart Lighting Enhancer is simple, but knowing how to fine-tune the settings can help you achieve professional-level results. Follow these steps to enhance your Instagram photos and video content effectively:
- Open the Instagram Photos App – Select the image or video from your camera roll that you want to edit.
- Tap on Editing Tools – Once in the photo editing section, locate the Smart Lighting Enhancer feature.
- Use the Slider to Adjust Brightness – Move the slider to find the perfect balance between lighten and darken without overexposing.
- Preview Your Adjustments – Before finalizing, use the preview function to compare the edited version with the original.
- Apply Additional Enhancements – If necessary, use filters, adjust saturation, or tweak the vibrancy to create a polished look.
- Post a Picture or Reel – Once satisfied, upload your high-resolution content directly to Insta Reels or your feed.
By following these steps, you can make your Instagram photos and videos appear naturally well-lit without compromising their highest quality.
Pro Tips to Brighten Your Photos and Videos
To get the best results, here are some additional tips and tricks:
- Avoid harsh artificial lighting – Use LED panels or ring lights for softer illumination that prevents overexposure.
- Use multiple exposures – If you’re capturing images in low light, taking multiple shots at different brightness levels can help you select the best one.
- Adjust exposure manually – The Smart Lighting Enhancer works great, but you can also tweak ISO, contrast, and sharpness for more fine-tune control.
- Compress wisely – When saving your image, choose formats like PNG to prevent quality loss, as some file compressions can degrade image clarity.
- Utilize third-party apps – If you need more customization, consider apps like Lightroom or Snapseed, which offer additional editing features.
By combining these techniques, you can ensure your content looks high-quality, even in low-light environments.
According to Later.com, Instagram Reels with even lighting and enhanced brightness get 35% more engagement compared to poorly lit videos. This demonstrates how good lighting and photo editing can impact reach and interactions.

Common Mistakes to Avoid When Using Smart Lighting Enhancer
Over-Enhancing: When Brightness Hurts Your Content
While the Smart Lighting Enhancer is a powerful tool to brighten your images, overusing it can negatively impact your photo enhancement results. Increasing the brightness level too much can wash out details, make colors look unnatural, and introduce unwanted harsh shadows.
To avoid this, always use the preview function before finalizing edits. Adjust the slider gradually to find the right balance and maintain even lighting. If your image still looks too bright, consider lowering the saturation slightly or using the vignette effect to add depth.
Ensuring Natural Lighting While Editing
A common mistake many content creators make is relying solely on editing tools to fix lighting issues instead of capturing well-lit images in the first place. While the Smart Lighting Enhancer helps correct low-light conditions, the best results come from a combination of good lighting and photo editing.
To achieve a more natural light effect:
- Use LED panels or a ring light to provide soft, diffused illumination.
- Avoid underexposing your shot; instead, adjust the ISO and shutter speed to capture more detail.
- Position yourself near a window or a well-lit area to take advantage of natural light.
By making sure your original content has the right amount of light, you can use the Smart Lighting Enhancer for subtle improvements rather than drastic corrections.
As a small business owner, I rely on Instagram photos to showcase my handmade jewelry. However, I don’t always have access to professional studio lighting. I used to spend hours adjusting brightness levels in Adobe Lightroom, but since using Instagram’s built-inphoto enhancement tool, I can lighten my images effortlessly. Now, I spend less time on photo editing and more time creating new designs, knowing my pictures will always look polished and professional-level.

Conclusion
Mastering the Instagram Smart Lighting Enhancer can help you create high-quality visuals that stand out on social media. Whether you’re looking to lighten dark images, improve Reels, or ensure your video content maintains its clarity, this powerful tool makes the process simple with one-click adjustments. However, to get the best results, it’s important to use proper good lighting techniques, avoid over-enhancing, and take advantage of additional editing features to fine-tune your content.
By combining photo editing expertise with natural light, LED panels, or even third-party apps, you can elevate your Instagram photos and videos to a professional-level. Keep experimenting with different settings and approaches, and soon, you’ll master the art of making your content look its highest quality—even in low-light environments!
Frequently Asked Questions
Can I Use Instagram’s Smart Lighting Enhancer on Screenshots?
Yes, but results may vary. Since screenshots are often compressed and lack depth in lighting, the enhancer might not work as well compared to a photo taken with a camera. For better results, use additional photo editing apps like Adobe or Snapseed to refine details.
What Makes Instagram’s Smart Lighting Enhancer Stand Out From Other Editing Tools?
Unlike traditional photo enhancement apps, Instagram’s tool is ai-powered, meaning it automatically adjusts brightness in a way that maintains a natural look. Other online tools or apps may require more manual adjustments to achieve the same effect.
Does the Enhancer Work on Low-Quality Photos?
It can help, but it won’t perform miracles. If an image is overly compressed, underexposed, or blurry, the enhancer can only do so much. To maintain quality, always start with a high-resolution image or use a DSLR or smartphone with good lighting.
Will Using the Enhancer Affect My Instagram Post’s Performance?
Possibly! Users looking for vibrant, well-lit content are more likely to engage with posts that stand out. Enhancing brightness while avoiding clutter and over-processing can improve your post’s visibility and appeal.
Can I Use the Smart Lighting Enhancer for Product Photography?
Absolutely! If you sell products online, using the enhancer can help illuminate details and brighten images. However, for professional results, use a mix of good lighting, DSLR settings, and additional photo editing tools like Adobe Lightroom.
Author Bio
Val Razo
Val Razo is a skilled professional in the field of Instagram Marketing. With over five years of experience as a freelance Social Media Marketing consultant, Val has assisted numerous small and medium-sized businesses in achieving their goals.