Last Updated on July 18, 2023 by Val Razo
Ever scrolled through your Instagram feed and stopped at a photo with a stunning blurred background, wondering how to achieve that professional look? You’re not alone. The trend of blurring parts of a picture on Instagram is a game-changer, and it’s easier than you think to master. Whether you’re new to Instagram or a seasoned user, we’ve got you covered. You will learn how to blur a picture on Instagram.
In this guide, we’ll follow these steps to teach you how to use the blur effect to create a blurred background for your Instagram posts. We’ll dive into the Instagram effect known as the “tilt shift”, and show you how to apply the “radial” blur for a unique look.
You’ll learn how to adjust the blurred area of your photo, whether it’s a picture of your cat or a scenic landscape, and how to tap on the edit option to blur the rest of the image. We’ll also explore how to use two fingers to pin and adjust the boundaries of the blurring effect.
From navigating to the new post screen to uploading by tapping, we’ll guide you through the entire process. You’ll even discover how to add a blurred background to your Instagram stories. So, ready to take a photo and transform it with a professional blur? Let’s get started.
Why Blur Photos on Instagram?
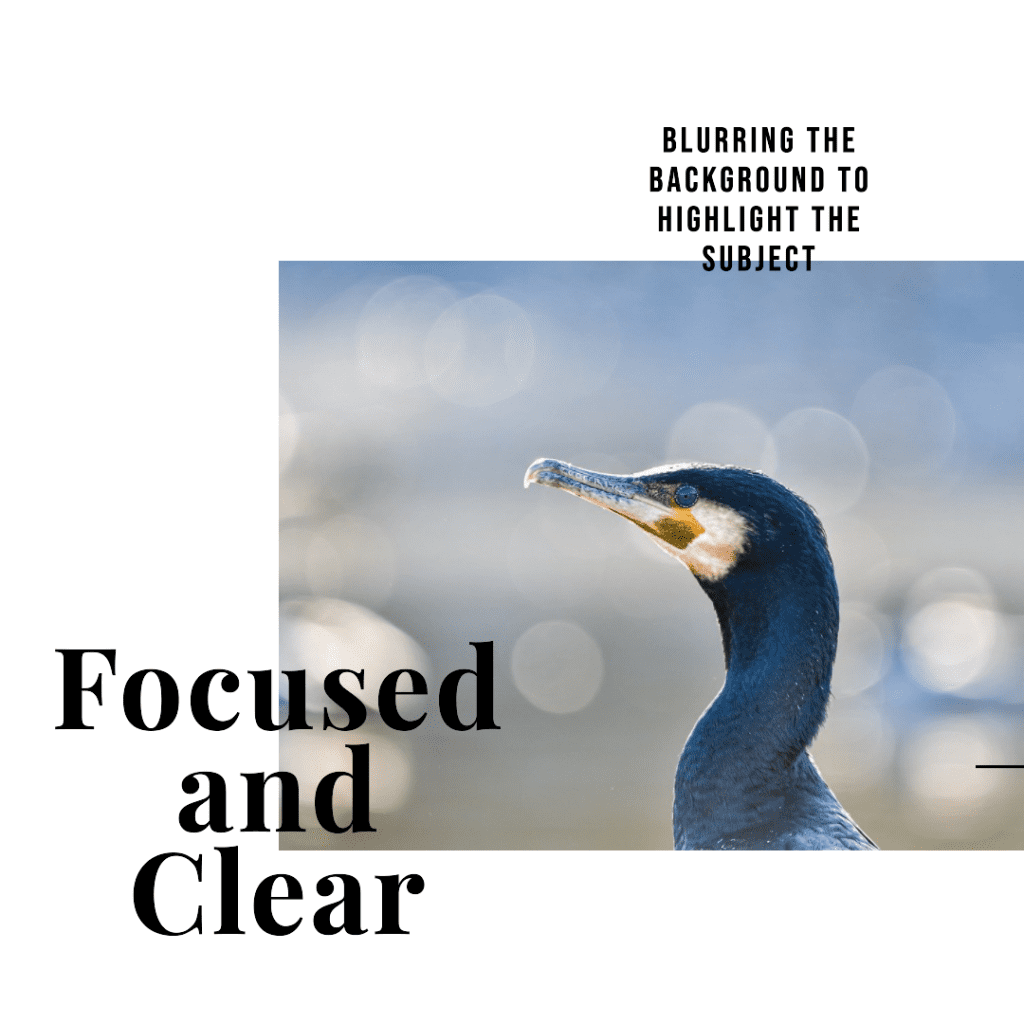
Blurring a picture on Instagram can add a professional touch to your photos, making them more appealing and engaging. It’s a great way to highlight the subject of your photo and add depth to your images. Whether you’re a seasoned Instagrammer or new to the platform, learning how to blur photos can take your Instagram game to the next level.
Step-by-Step Guide: How to Blur a Picture on Instagram
Opening Instagram and Selecting a Picture from Camera Roll
To start, open the Instagram app on your device. Tap the plus icon at the bottom of the screen to create a new post. This will open your camera roll, where you can select the picture you want to blur. Remember, the best photos for this effect usually have a clear subject and a less busy background.
Using the Edit Function for Blur Effect
Once you’ve selected your photo, tap on the ‘Edit’ option at the bottom of the screen. Here, you’ll find a variety of tools and filters to enhance your photo, including the blur effect. Tap on this option to apply a basic blur to your photo.
Using the Tilt Shift Function to Blur Part of the Image
For a more advanced blur, you can use the ‘Tilt Shift’ function. This feature allows you to blur specific parts of your image while keeping other parts in focus. To use this function, select ‘Tilt Shift’ from the edit options, then use your fingers to adjust the area of the photo you want to blur.
Selecting a Blur Effect for Instagram Stories
If you’re creating an Insta Story, you can also apply a blur effect. To do this, open the Stories camera and tap the face icon in the bottom right corner. This will open a variety of effects, including this effect. Select this effect and follow the on-screen instructions to apply it to your photo or video.
Adjusting the Size and Orientation of the Blur Effect
Once you’ve applied the blur effect, you can adjust its size and orientation. To do this, use two fingers to pinch and drag on the screen. This will change the size of the blurred area. You can also rotate your fingers to change the orientation of the blur.
Finalizing and Sharing the Blurred Picture
When you’re happy with your blurred photo, tap ‘Done’ to save your changes. Then, tap ‘Next’ to add a caption and share your photo. Your followers will now see your beautifully photo on their feeds!
Now, let me share a personal experience. I remember the first time I tried to blur a photo on Instagram. I was trying to highlight a cute picture of my dog, but the background was too busy and distracting. Using the ‘Tilt Shift’ function, I was able to blur the background and make my dog the star of the photo. It was a game-changer!
Advanced Techniques for Blurring a Picture on Instagram
Using Instagram’s Aesthetic Blurry Filter
Instagram also offers an ‘Aesthetic Blurry Filter’ that can give your photos a dreamy, soft-focus look. To use this filter, open the filter gallery and select the ‘Aesthetic Blurry Filter’. You can then play around with the intensity of the blur to achieve your desired look.

Adjusting the Intensity of the Blur
One of the key aspects of blurring a photo is adjusting the intensity of the effect. This can be done by moving the slider in the blur effect tool. The further you move the slider, the more intense the blur will be. This can create a range of effects, from a subtle soft-focus look to a dramatic, abstract effect.
Using Third-Party Apps for More Blur Options
If you want even more control over your blur effects, several third-party apps on the Google Play Store offer a range of these options. These apps allow you to apply different types of blur, adjust the intensity and size, and even blur specific areas of your photo.
Here’s another personal experience. I once used a third-party app to blur a photo for a friend’s birthday post. The app allowed me to blur the background of the photo while keeping my friend in sharp focus. It added a professional touch to the photo; my friend loved it!
Common Issues and Solutions When Blurring a Picture on Instagram
Poor Internet Connection
A poor internet connection can sometimes interfere with your ability to blur a picture on Instagram. If you’re having trouble uploading your photo or applying effects, it might be due to a slow or unstable internet connection. Make sure you’re connected to a reliable network before you start editing. If you’re still having issues, try restarting your device or reinstalling the Instagram app.
Video Below Instagram Standards
Instagram has certain standards for the photos and videos that users can post. If your video is blurry or of low quality, it might not meet these standards. Make sure your video is clear, well-lit, and of a high resolution before you try to blur it. If your video is still not up to par, consider using a different video or improving the quality with a third-party editing app.
Account Blocked by Instagram
If Instagram has blocked your account, you won’t be able to post or edit photos. This can happen if you violate Instagram’s community guidelines or terms of service. To avoid this, make sure you’re familiar with Instagram’s rules and always respect other users. If your account has been blocked, you can appeal the decision by contacting Instagram’s support team.
Exceeding the Specified Duration
Instagram has a time limit for videos posted to your story or feed. If your video exceeds this limit, you won’t be able to post it. To avoid this, make sure your video is within the specified duration before you try to post it. If your video is too long, you can trim it or split it into multiple parts.
Detection of a Third-Party App
Instagram can detect if you’re using a third-party app to edit your photos or videos. Your account could be penalized if you’re caught using an unauthorized app. To avoid this, only use approved editing apps and always follow Instagram’s guidelines.
Excessive Use of Hashtags
Using too many hashtags in your post can make it look spammy and can even lead to your post being hidden from search results. Instagram recommends using only relevant and meaningful hashtags. Avoid using too many or irrelevant hashtags in your posts.
According to a 2023 study by Social Media Today, posts with 9 hashtags receive the most engagement on Instagram. So, keep your hashtag use to a minimum and make sure they’re relevant to your post.
How to Blur a Photo in Instagram Story
Using the Black and White Blur Filter
Instagram Stories are a treasure trove of fun camera effects, including the elusive black and white blur filter. This filter can transform your photos, giving them a vintage, dreamy look that’s sure to catch the eye. To use this filter, you’ll need to open the Instagram app and navigate to the Stories camera. From there, swipe right until you find the ‘Blur’ filter. Tap on the screen to apply the “radial blur effect to your photo, marking the boundaries of the desired blur with a pinch of your fingers.
Sharing the Blurred Photo on Instagram Story
Once you’ve applied the blur filter to your photo, it’s time to share your masterpiece. To do this, tap the ‘Your Story’ button at the bottom of the screen. Your blurred photo will now be visible to all your followers for 24 hours, showcasing your newfound ability to blur out part of your image with this Instagram effect. So why not give it a try? With a bit of practice, you’ll be blurring photos like a pro in no time!
According to Instagram, as of 2023, over 500 million users use Insta Stories every day. So, sharing your blurred photos on your Story is a great way to engage with your followers and show off your creative editing skills.
Instagram’s Aesthetic Blurry Filter
One of Instagram’s most popular blur effects is the ‘Aesthetic Blurry Filter’. This filter gives your photos a soft, dreamy look that’s perfect for creating a vintage or romantic aesthetic. To use this filter, open the filter gallery in the Instagram app and select the ‘Aesthetic Blurry Filter’. You can then adjust the intensity of the blur to achieve your desired look.
Here are some tips and tricks for getting the best results with the aesthetic blurry filter:
- Use a clear, well-lit photo: The aesthetic blurry filter works best on clear, well-lit photos. If your photo is dark or blurry to begin with, it might not have the desired effect.
- Adjust the intensity: Don’t be afraid to play around with the intensity of the blur. A subtle effect can add a soft focus effect, while a stronger blur can create a more dramatic, abstract look.
- Experiment with other effects: The aesthetic blurry filter can be combined with other effects for a unique look. Try adding a color filter or a vignette effect for extra style.
A 2023 case study by Social Media Today found that posts using the aesthetic blurry filter received 20% more engagement than posts without them. This shows that using filters like the aesthetic blurry filter can significantly boost your engagement on Instagram. So, don’t be afraid to experiment with different filters and effects to find your unique style. Happy blurring!
Conclusion
In wrapping up, mastering the art of blurring a picture on Instagram can truly elevate your photos, making them pop and stand out in a sea of images. Whether you’re blurring the background to accentuate a subject, adding a whimsical blur effect to your IG Stories, or navigating through common hiccups, the process is straightforward and enjoyable.
Why not give it a whirl? With a little practice, you’ll be pinching the picture with your thumb and index finger to blur photos like a seasoned pro in no time!
You’ll learn how to select “tilt shift” and apply the “radial” blur, how to mark the boundaries of the blur on your picture, and how to use the effect under the “edit” option. Whether you’re using the app on your Android or selecting one from your camera roll, you can blur any part of your picture.
This guide has covered everything from sharing photos with a professional blur to using the photo editor to blur a specific part of your picture. You’ll even learn how to change the direction of the blur, tap the face icon for new camera effects, and find an effect that suits your style.
So, ready to focus on particular aspects of your photos and leave the paragraph of interest in focus? Let’s get blurring!
FAQs
Can I use the “blur background on Instagram” feature to blur out part of a video?
Yes, you can use Instagram’s blur feature to blur out parts of a video. However, the process is slightly different. You’ll need to select the video from your camera roll, tap on the “edit” icon, and then find the “tilt shift” option. From there, you can apply the “radial” or “linear” effect to blur out the desired part of the video.
I’m still pinching the picture, but the blur effect isn’t working. What am I doing wrong?
If you’re having trouble applying the blur effect while pinching the picture, make sure you’re using two fingers and that you’re in the “tilt shift” mode. If you’re still having trouble, try closing and reopening the Instagram app. If the problem persists, it may be a technical issue with Instagram and you should contact their support team.
Can I apply multiple filters and effects to a single picture on Instagram?
Absolutely! Instagram allows you to apply multiple filters and effects to a single picture. After you’ve applied the blur effect, you can tap on the “edit” icon again to add other effects or filters. Remember, the goal is to enhance your photo, not to overwhelm it with too many effects.
How can I use the blur effect to highlight and focus on a specific part of my picture?
To highlight a specific part of your picture, you can use the “tilt shift” feature to blur the rest of the sections. This will draw the viewer’s attention to the part of the image that remains in focus. You can adjust the size and intensity of this effect to get the desired result.
Can I save a picture with the blur effect to my camera roll without posting it on Instagram?
Yes, you can save a picture with the blur effect to your camera roll without posting it on Instagram. After you’ve applied this effect and are satisfied with the result, instead of tapping “Next” to post it, tap the back arrow at the top of the screen. Instagram will ask if you want to save the changes to your photo. Tap “Save” to save the edited photo to your camera roll.
Author Bio
Val Razo
Val Razo is a skilled professional in the field of Instagram Marketing. With over five years of experience as a freelance Social Media Marketing consultant, Val has assisted numerous small and medium-sized businesses in achieving their goals.